
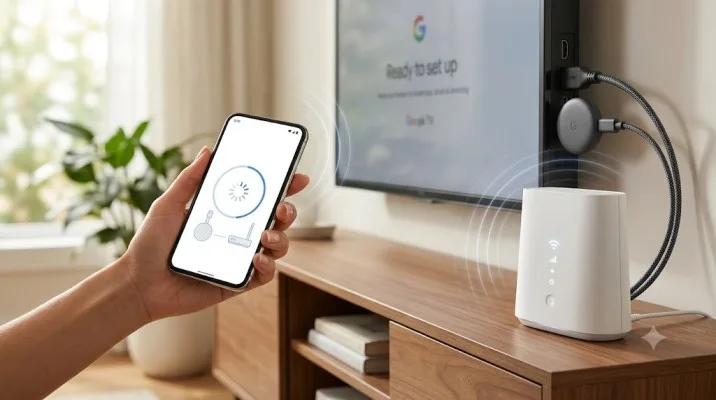
That moment when you set up a new Chromecast, or you have just changed your internet provider, and the device stares back at you with no connection. It is frustrating. But the fix is usually simpler than you think.
This guide walks you through exactly how to connect the Chromecast to the WIFI, step by step.
So, How to Connect the Chromecast to the WIFI?
First, Plug It In
This sounds obvious, but it is easy to skip a step. Your Chromecast needs two connections. One is for the TV signal. The other is for power.
Related Article: Chromebook Connected to WIFI but No Internet Access Fix
Take the Chromecast and plug it into an available HDMI port on your television . Make sure you remember which HDMI port you used. Next, connect the power. Use the supplied USB cable and power adapter.
Plug the USB end into the Chromecast and the adapter into a wall socket . You can also power it from a USB port on the TV, but using the wall adapter gives a more stable power supply .
Now, turn on the TV. Use the remote to switch the input/source to the HDMI port you used .
The Key: The Google Home App
You cannot connect a Chromecast to Wi-Fi directly from the TV. You need a smartphone or tablet for this. It acts as the bridge between the Chromecast and your Wi-Fi network.
Download the Google Home app. This is the only tool you need for setup . Do not look for separate Chromecast apps anymore. The Google Home app handles everything.
Open the Google Home app. Make sure your phone is connected to the Wi-Fi network you want the Chromecast to use . You also need Bluetooth enabled on your phone for the initial device discovery.
Setting Up a New Chromecast
If you are setting up a brand new Chromecast, follow these steps.
-
Launch the Google Home app on your phone.
-
Tap the + (Add) icon, then select Set up device.
-
Choose New device.
-
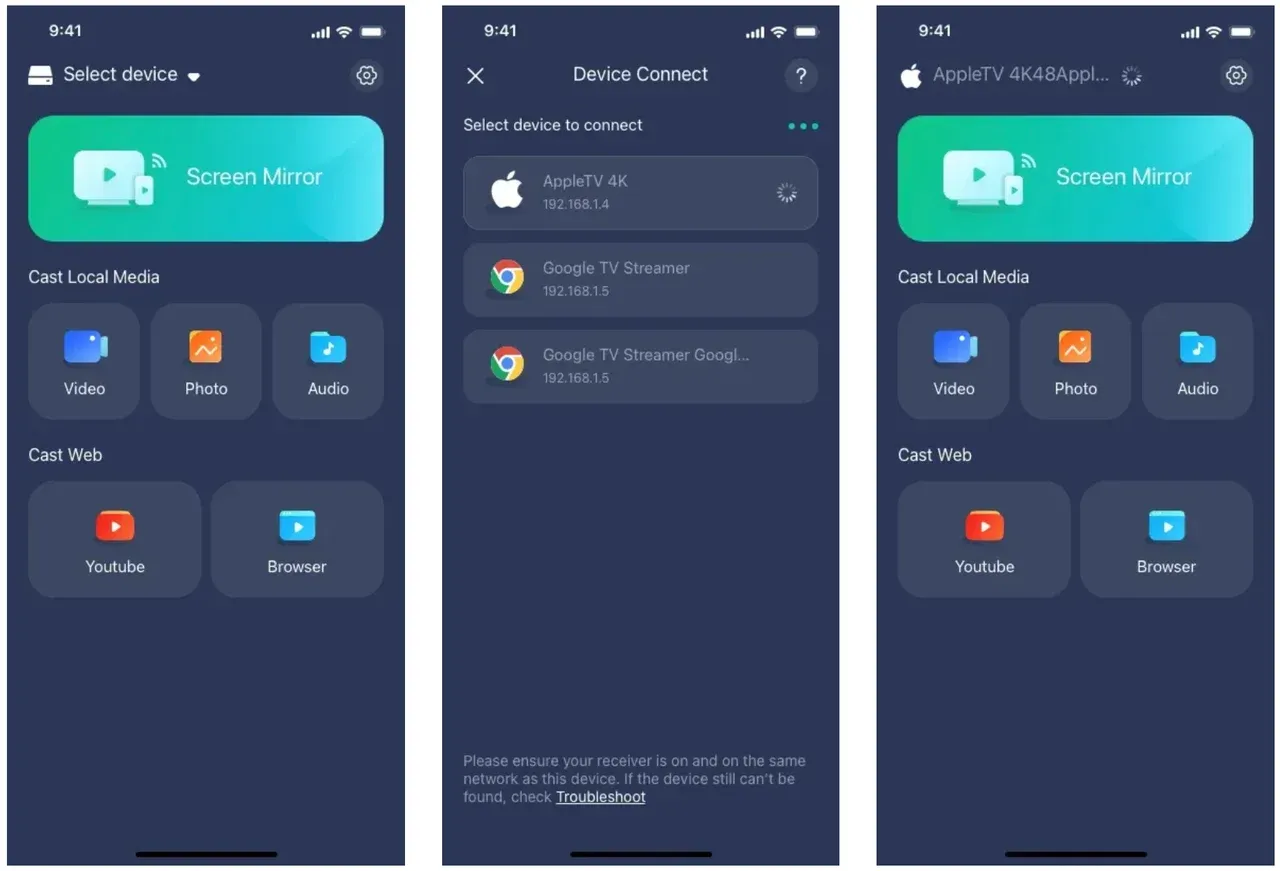
The app will search for nearby devices. When it finds your Chromecast, tap it.
-
A code will appear on both your TV screen and your phone screen. Confirm that the codes match .
-
The app will then present a list of available Wi-Fi networks. Select your network and enter the password .
The Google Home app will take it from there. It connects the Chromecast to the network and completes the setup.
How to Change the WIFI Network on a Chromecast?
Chromecast devices have a limitation. They can only remember one Wi-Fi network at a time . If you change your Wi-Fi password or router, you need to tell the Chromecast to forget the old network and connect to the new one.
You Must Also Like: Share Thread Network Credentials Google TV iPhone Easily
1: The App Method (When Chromecast is Still Connected)
If your Chromecast is still connected to the old Wi-Fi, you can use the app to change it.
How to change the WIFI network on a Chromecast using the app:
-
Open the Google Home app .
-
Tap and hold the tile for your Chromecast device .
-
Tap the Settings (gear icon) .
-
Go to Device information and then Wi-Fi .
-
Tap Forget this network .
Once you forget the network, the Chromecast will drop its connection. The app will guide you back to the setup steps. You will then be able to select your new network and enter the new password.
2: The Reset Method (When Chromecast is Not Connected)
What if you do not have access to the old network? Maybe you moved to a new house. How to connect Chromecast to new WIFI without the old network is simple. You perform a factory reset .
To reset your Chromecast:
-
Locate the small button on the Chromecast device itself. It is usually near the USB power port .
-
Press and hold the button for about 15 to 25 seconds.
-
The light on the Chromecast will flash, and the TV screen will go blank. The device will restart .
-
Once it restarts, it is like a new device again. Open the Google Home app and follow the steps for setting up a new device .
Troubleshooting: When It Does Not Connect
Sometimes, Chromecast refuses to cooperate. Here is what to check when you run into problems.
Check the Distance. The Chromecast should be within about 6 meters (20 feet) of your Wi-Fi router . If it is too far, move them closer.
Check Network Compatibility. Older Chromecasts only work with 2.4 GHz Wi-Fi networks . If you are trying to connect it to a 5 GHz network, it will not even show up in the list. Check your router settings. Many routers broadcast two networks. Connect your phone to the 2.4 GHz one first.
Disable AP Isolation. This is a common hidden problem. Some routers have a setting called AP Isolation, Client Isolation, or Guest Mode . It prevents devices on the Wi-Fi from talking to each other.
Chromecast needs to communicate with your phone. You may need to log into your router settings and turn this feature off .
Trending Article: How to Sync Arylic LP10 with Google Home for Multi-Room Audio?
Check Other Devices. If other devices cannot connect to the Wi-Fi, the problem is likely your router, not the Chromecast. Try restarting your router by unplugging it for a minute and plugging it back in .
Restart Everything. A simple restart solves many problems. Unplug the Chromecast from power for a minute and plug it back in. Restart your phone as well .
Different Models, Same Core Steps
The basic process is the same for most models. The process for Chromecast com setup TV has remained consistent. The only major difference is the interface for older models versus the newer Chromecast with Google TV.
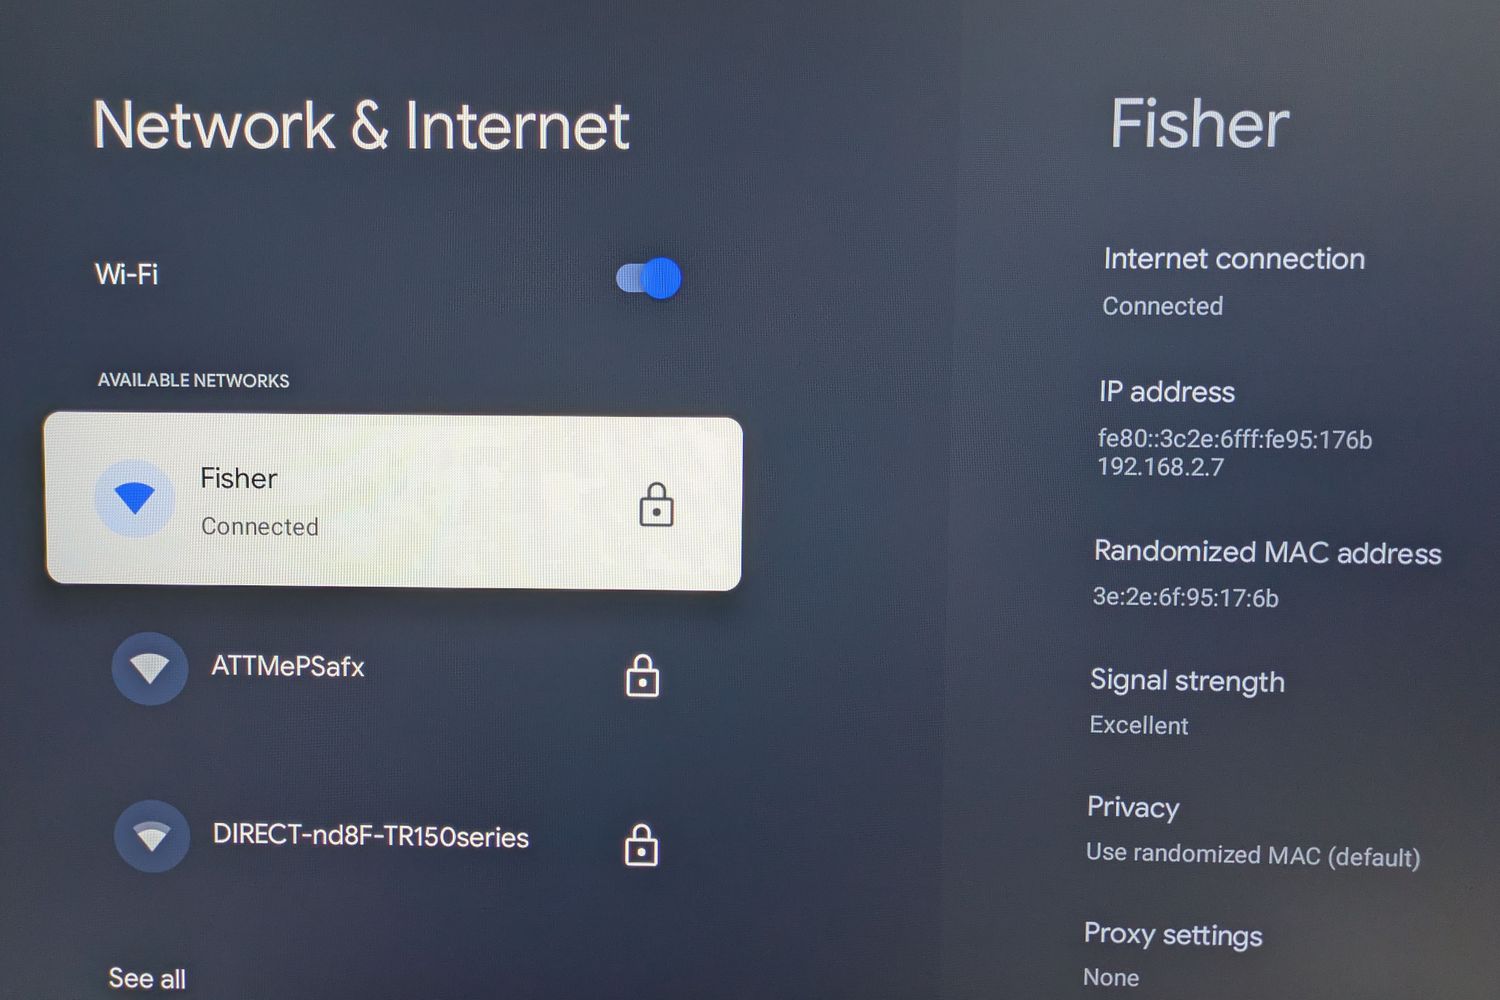
For older models, everything is controlled through the Google Home app. For the Chromecast with Google TV, you can also change the Wi-Fi directly from the TV settings menu using the remote .